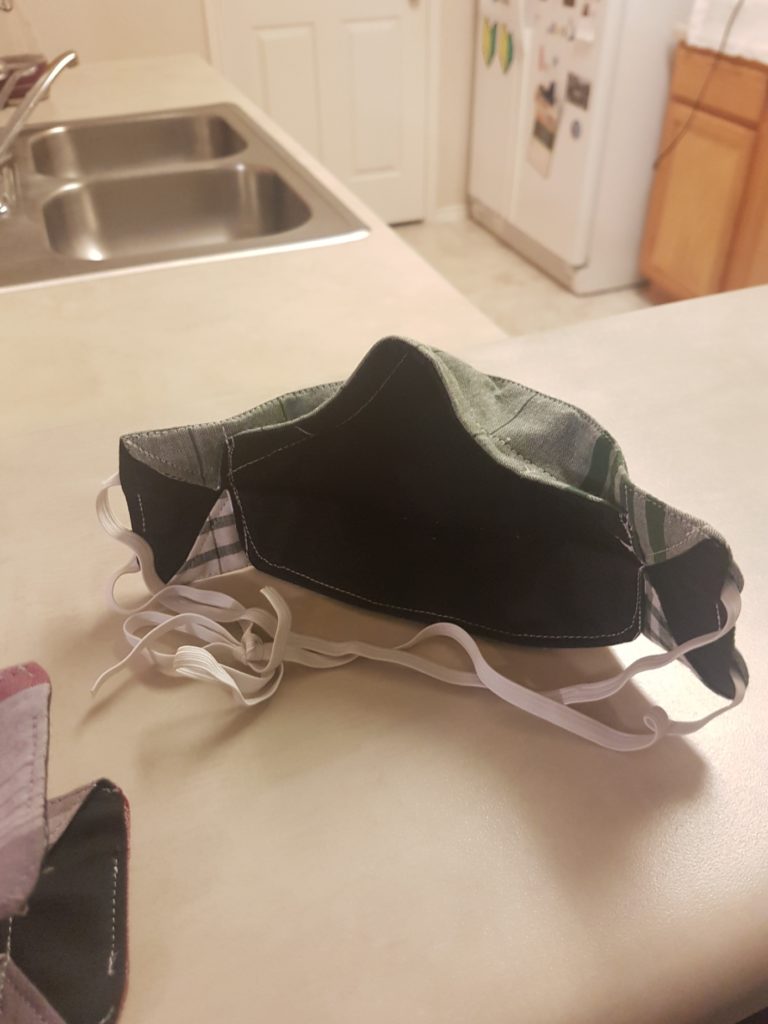
Let’s make an Aplat mask!
Also known as an origami mask, the Aplat design is our new favorite design.
https://aplat.com/blogs/shus-notebook/diy-cloth-face-mask
We (qyandri, pegastar and a tiny bit from infamy) had been making Olson-style fitted masks using a pattern from Craftpassion.com. Most find this origami mask more comfortable, and easier to speak in. (The remainder of us have longer, higher than average noses with an upturned tip, and have yet to find a close fitting, non-smooshing face mask that doesn’t render the nose numb after ten minutes. At least, one that isn’t a 3M paint respirator. The remainder of us is working on several ideas, from modified pleated masks to beekeeper’s hoods to the “Construction Vest Darth Vader”). We’ve made several changes to the way it is constructed, so let’s look at the steps for creating a modified Aplat.
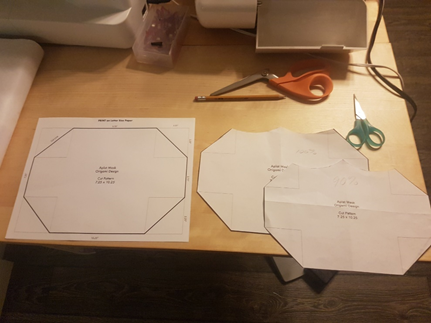
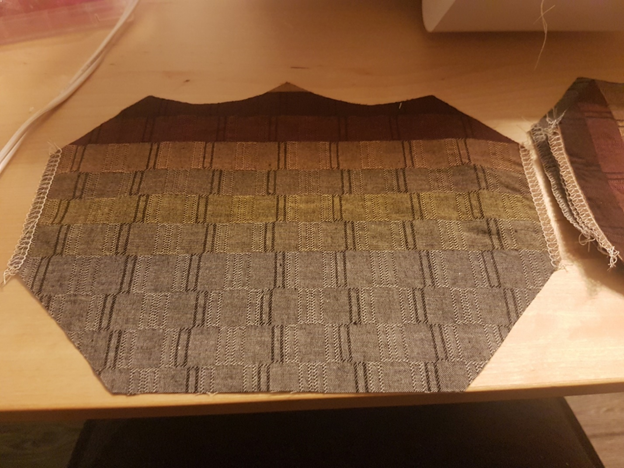
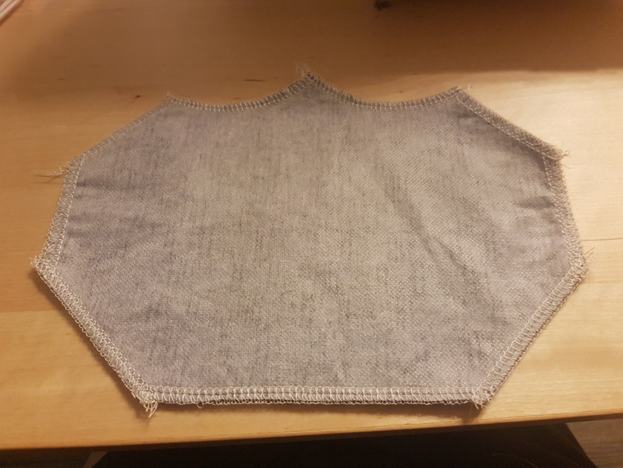
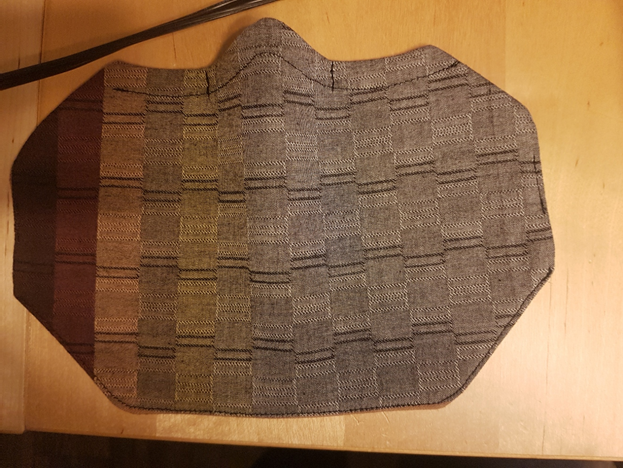
The original mask was a flattened octagon. We found that the straight line at the top would come irritatingly close to the eyes for some wearers. This is a common problem with the square, pleated masks. People must wear them loose enough to keep them out of their eyes, but then they don’t create a seal. People who have a high nose bridge, like myself, find the top of the mask migrating so high that it nearly covers the eyes. The Olson style mask that we had been making fixed that problem but fit so closely to the mouth it was uncomfortable to speak in for an extended amount of time. We followed the Olson style and created cut outs for the eyes. It is a trickier build than the original Aplat, but worth the time.

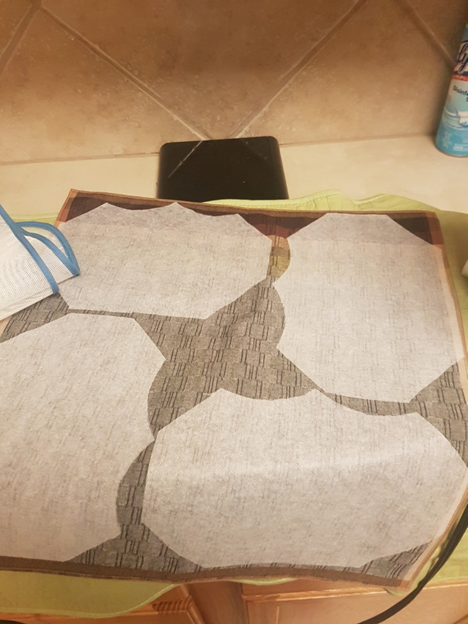
Non-woven fusible interfacing is supposed to act as a filtering medium, for what that is worth.
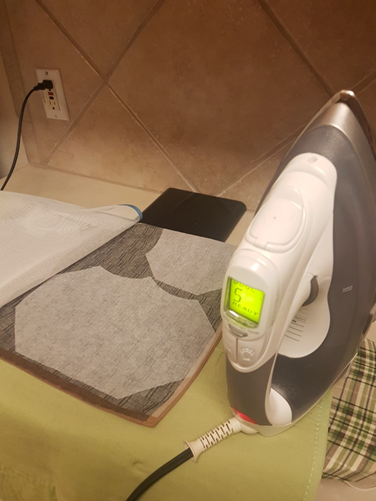
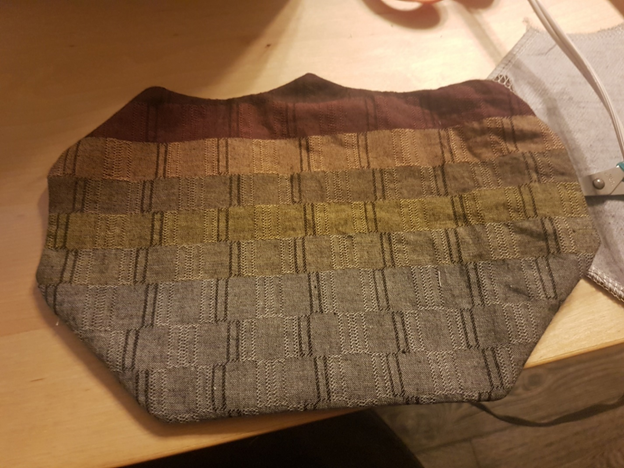
I found some cotton handkerchiefs that I liked very well. I can get one full sized mask, or two 90% sized masks from one handkerchief. Each handkerchief cost less than 2 dollars, so all told, the cost of material for this mask is around 2-3 dollars.
We almost completely changed the construction at this point. The major change is the elastic placement.
We changed how the mask is sewn for few reasons. First, the placement of the elastic channel caused a large bunching on each cheek. We changed the design so the elastic comes out NOT from the top and bottom, from the diagonal sides, but from the short, vertical side.
Second, it was also nearly impossible to construct the major seams with the serger using that pattern. My serger has two stitch needles in right now, so the overlock keeps the edges from fraying and the double row of stitching reinforces the seam. For an item that is intended to be laundered very often, I wanted to make it as durable as possible. If you have a serger, you know how fast and versatile they are.
Third, the original directions left the entire bottom seam open. This meant that the whole thing needed to be turned under and top stitched. The longer that seam, the more wonky it can look. We decided to turn it from one of the smaller sides.
Finally, we decided that the open diagonal side should be one of the top two sides. This opening gives us the opportunity to easily create a channel across the bridge of the mask, and insert a metal nose piece to help with fitting the mask. If this is hard to visualize, here are the steps!
Serge the vertical seams separately. This keeps them from fraying. These will be open until right before we flip it inside out.
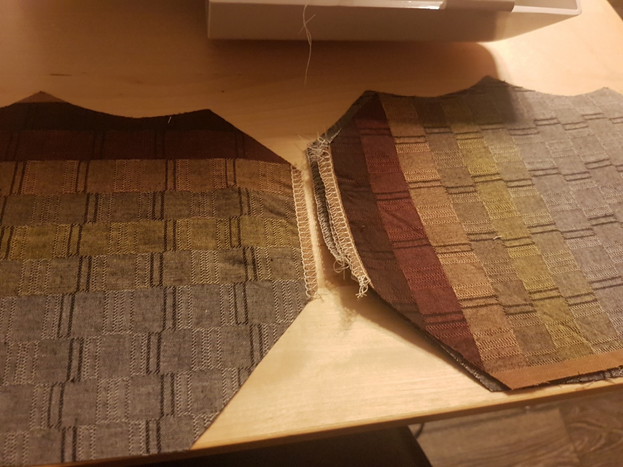
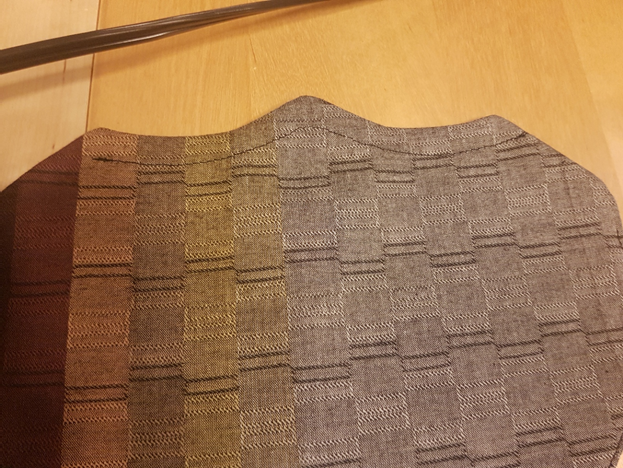
Next, serge one top corner of the mask. This should be the same corner on the front and back when you place them right sides together. This will be open so that we can turn it and insert the metal nose piece.
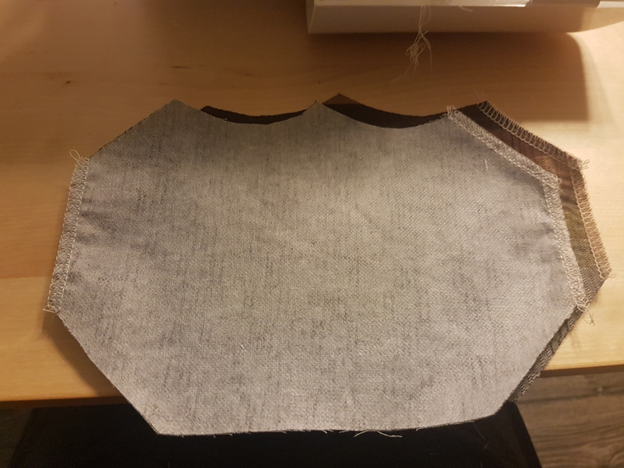
Place them right sides together and serge the remaining raw edges together: the other three diagonals, the bottom straight seam, and the curved top seam. The two vertical seams and the one top diagonal seam are still open.
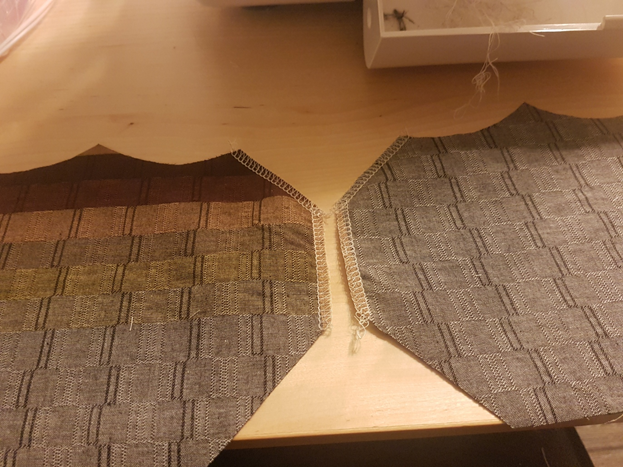
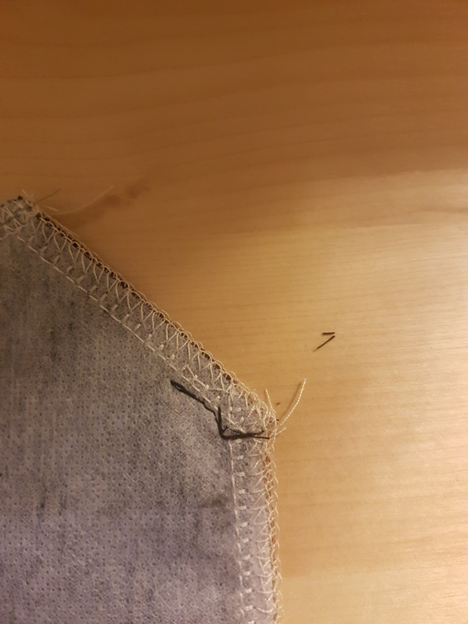
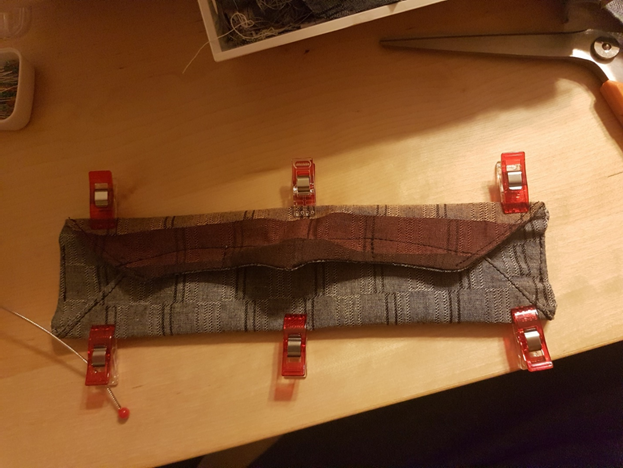
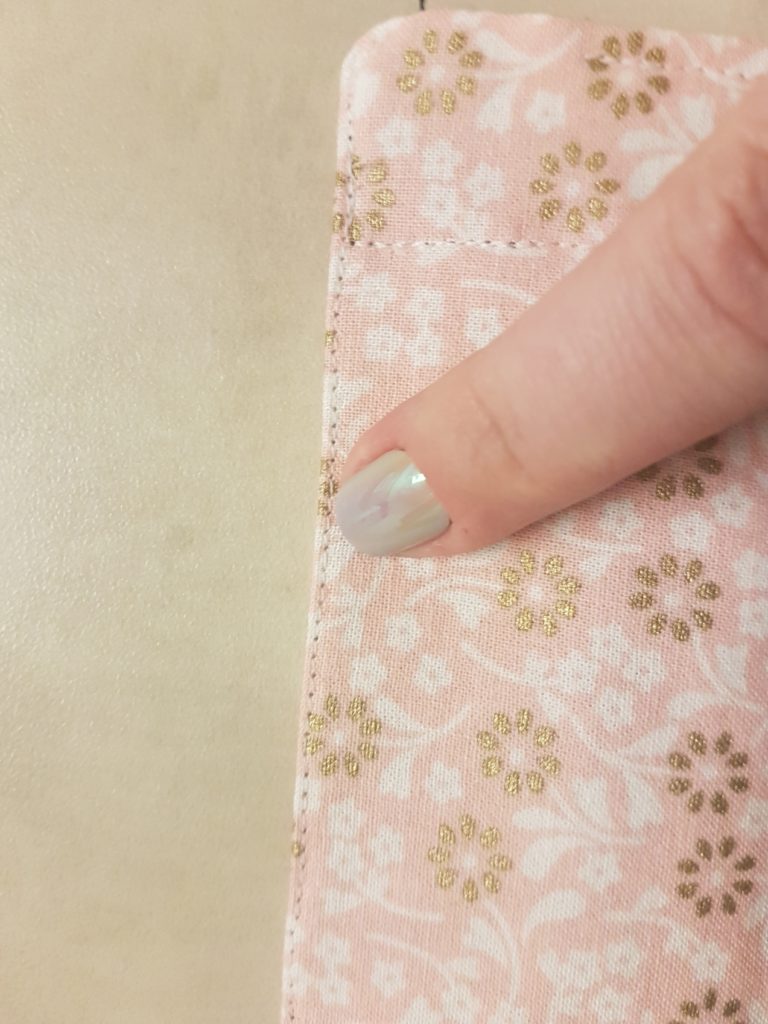
At the top edge, sew a short seam as shown in the picture. This tiny seam tacks down the open corner and makes the top of the channel for the elastic. Tacking the seam like this keeps the seam inside when you turn it and insert the elastic. If you are using a thread that is a contrasting color, be sure to sew just inside the serged seam to hide the light colored (in this case) stitching when it is turned.
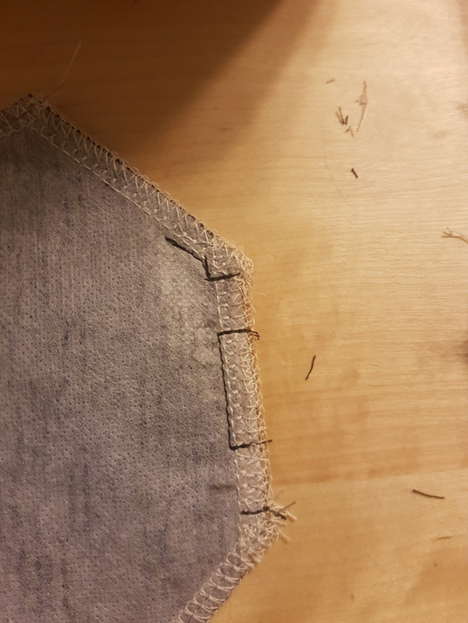
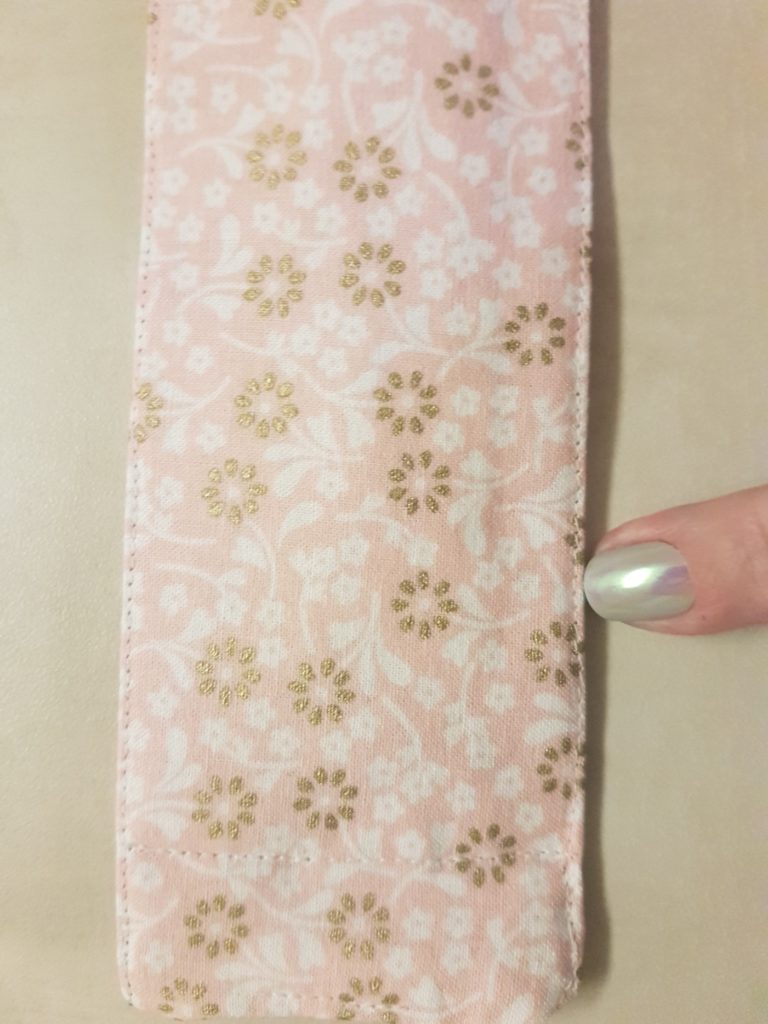
Next, sew a seam to create two channels. I reinforce this seam by backstitching. This is where the stress from the elastic or fabric ties (shoe laces are prefect) will be focused.
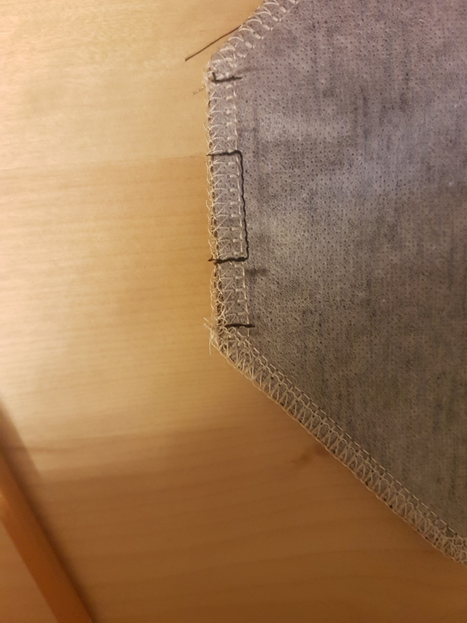
On the opposite vertical side, create the elastic channels. Since the upper seam is closed, it doesn’t need those extra tacking stitches at the corner.
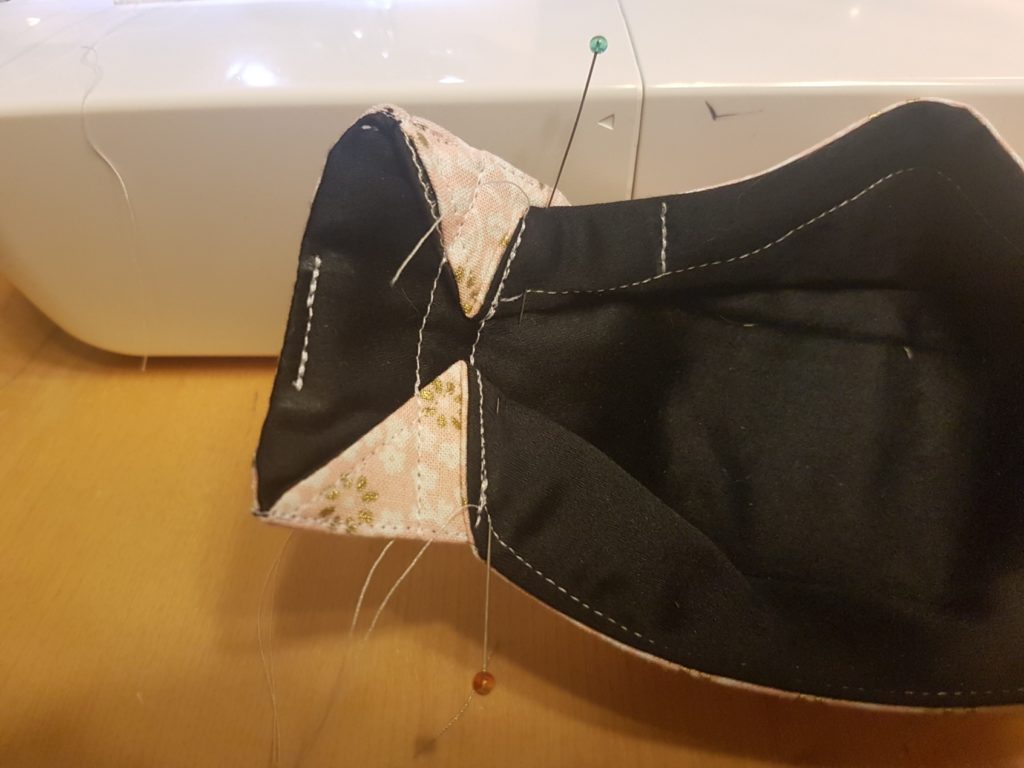
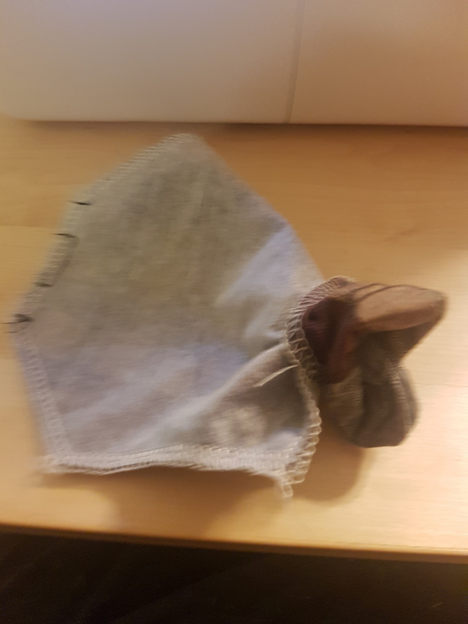
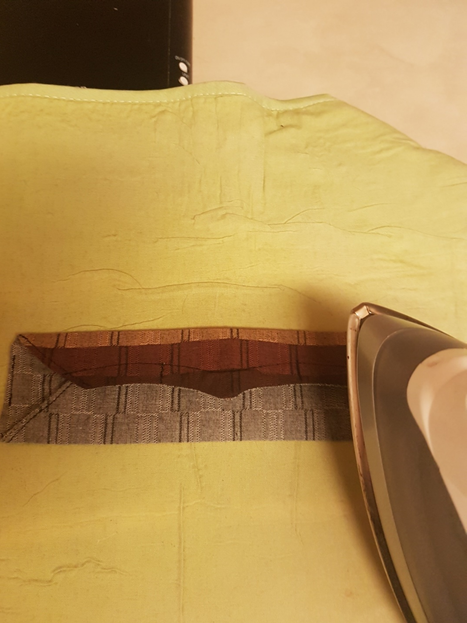
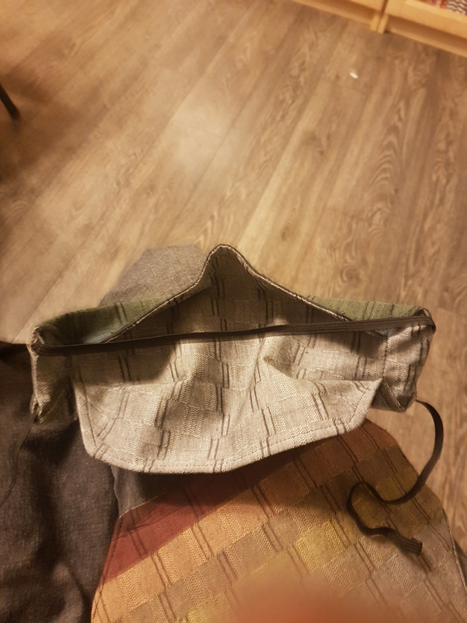
Now it’s time for the flip. Pull the mask carefully through the open seam. (Apologies for the blurry picture).
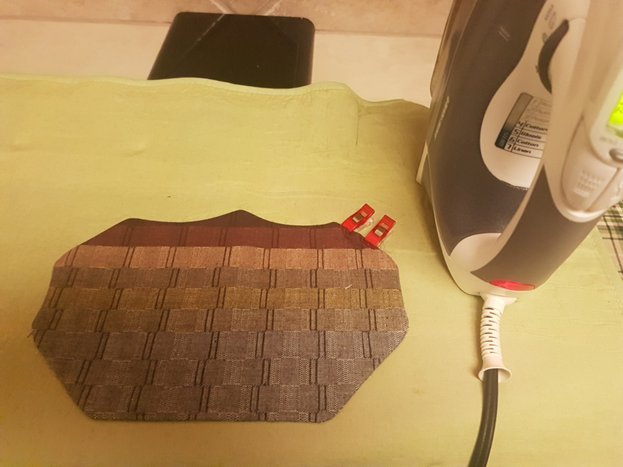
Making sure to work those corners as far out and pointy as you can, press the mask flat. The clips on the corner are holding the remaining open seam. Press that corner carefully so that top stitching it closed can be as neat as possible.
Back at the sewing machine, top stitch a channel wide enough for your metal nose piece.
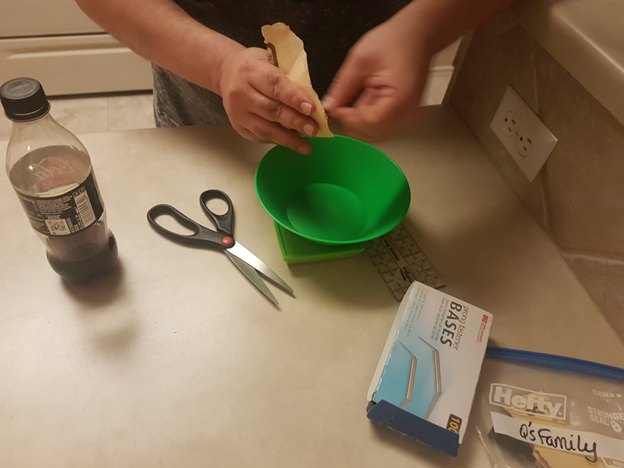
Although you can buy them premade now, we are making ours from paper fasteners. We were going to switch to the premade aluminum nose pieces, but we found they could only be bent to a 90 degree angle 25 times before breaking. The steel fasteners bent more than SEVEN HUNDRED times before I got bored and twisted it to break it. The difference in durability was so striking that we decided to continue this process, although more laborious. We believe they will hold up much better to the stresses of washing. We cut the fasteners down to length, then narrow them, round the ends, sand the sharp edges, and finally, pre-bend them. They are made from steel, so the green contraption is a bowl on top of a magnetic pin catcher. It grabs all the tiny metal shards. Be extra careful not to get these in our eyes if you go this route. CJ/infamy is wearing glasses. Because they are steel, I worry about them rusting, so be sure your masks are completely dry. I am not certain this will happen, but I could see it happening. Masks are also harder to breathe through when they are damp.
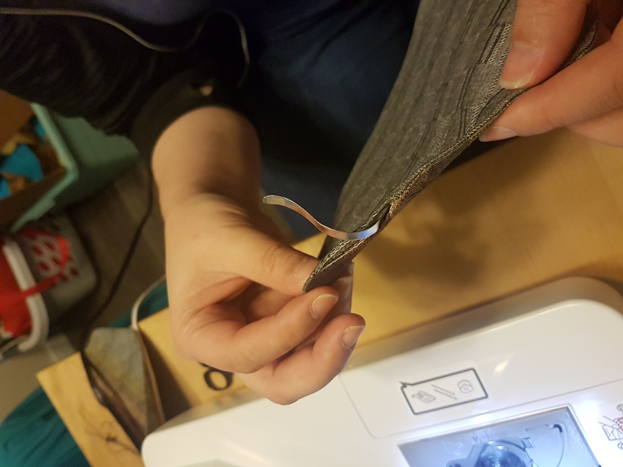
Insert the shaped metal nose piece into the channel and center it.
Make a row of stitching closing off both sides of the nose piece channel to keep it in place. Top stitch the other seams as closely to the edge as reasonable, being sure to leave the channels for the elastic open. Take extra care when closing the open seam to keep it tidy. (I couldn’t find the picture of the top stitching over the open seam, but pretend it is there until I can get a picture from the next batch.)
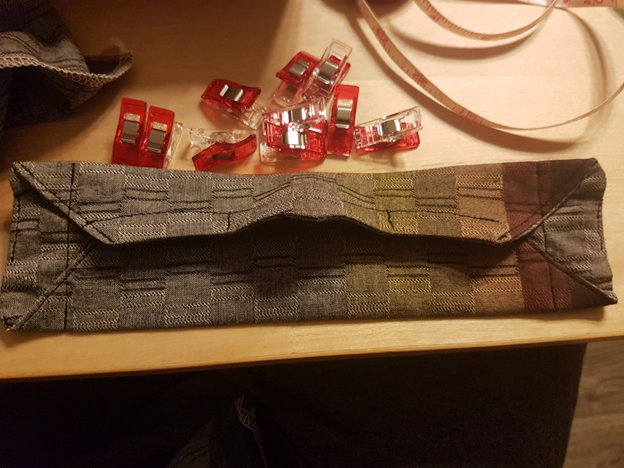
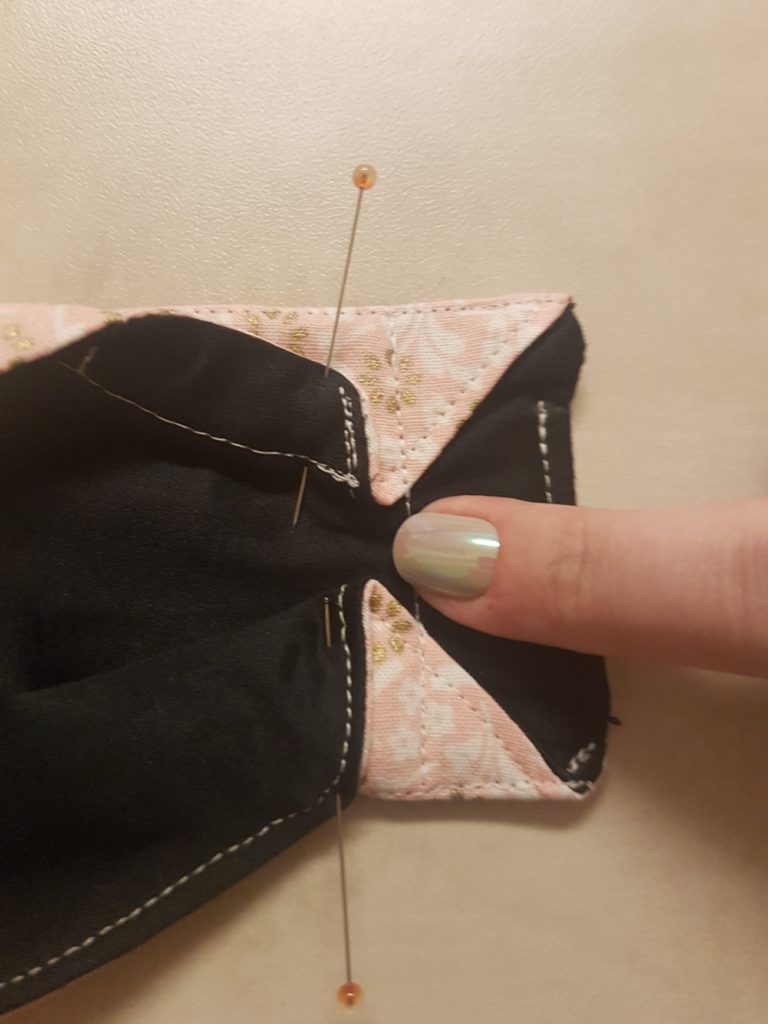
Now comes the “origami”. Fold the top down right over the opening for the elastic, and fold the bottom up right under the opening for the elastic. Press this flat and crisp without smashing the metal nose piece down.
Now stitch one line down across all layers, leaving a small opening triangle as shown in the picture. This should be approximately 1 inch or a little more from the outside edge.
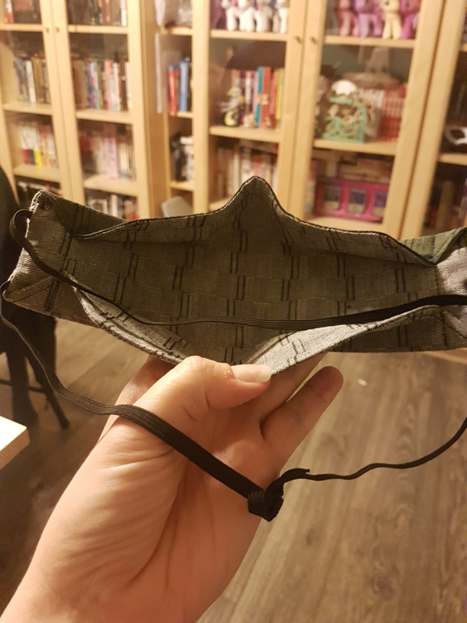
Pull the elastic through the channels. I use an elastic puller as seen in the picture, but you can also use a safety pin attached to the elastic, or just try to work it through since it is a small distance. How long the elastic ties (shoe laces, fabric ties, etc.) should be is dependent on how stretchy your elastic is, how big your head is, how snug a fit you want, etc. Now that we can get more elastic, we can be generous and usually send them out now with 30-36 inches of elastic.
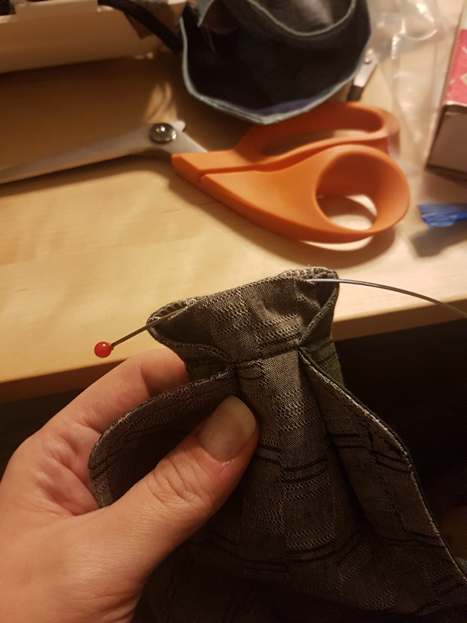
Apologies for the fuzzy pictures to follow. We usually lace through the bottom to the top on the right side, and top to bottom on the left, leaving the open bottom ends hanging out the bottom. Tying these loose ends is left to the comfort of the wearer.
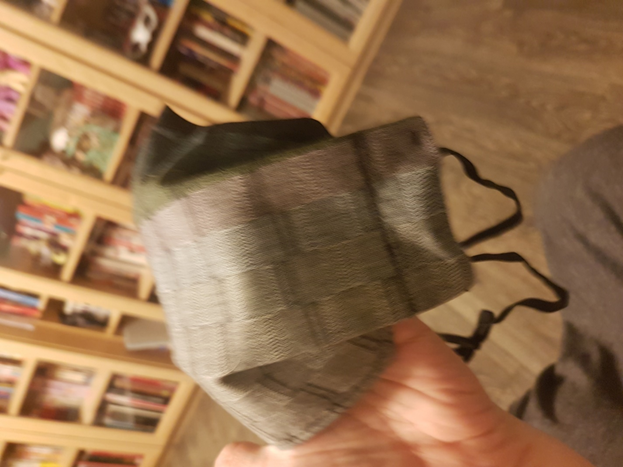
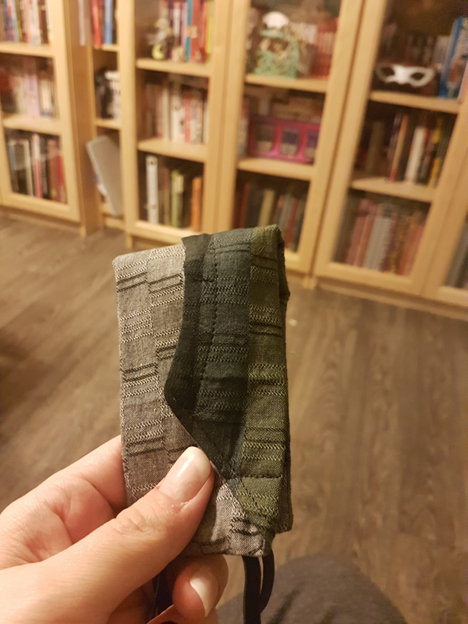
Fold the bottom in, then fold the top down, and fold in half so that the front side of the mask is now on the inside. In this way it is very compact. Folding it this keeps the nose piece from being bent backwards, and breaking from metal fatigue. Any metal will eventually break when stressed too much.
~qyandri
The “3D” modification –
By changing and adding four lines of stitching, you can make the mask “3D.” This creates a pocket in front of the mouth. It makes it easier to speak in, and places less pressure on those of us that have longer/upturned noses. However, it also creates a warm pocket of air that some feel is uncomfortable. Follow the steps below to create the “3D” modifications.


While the mask is laid flat, front side up, add a line of top stitching at the top and bottom, as close to the edge as possible.
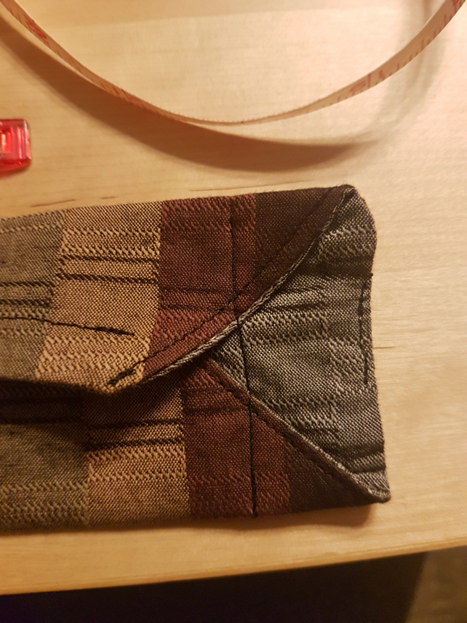
Fold the bottom flap up, and then back down at a right angle so that the corner of the bottom flap touches the bottom of the front of the mask. It should make a right triangle. For the top flap, fold it up in the same way, at the same distance from the short end of the mask, but the top flap won’t reach the top of the mask. The vertical line of the right triangles should make a straight line from the top to the bottom. There will be a small gap between the triangles.
Sew a straight line from top to bottom at the lining edge to tack down the triangles. The picture shows where the original line of stitching was. That stitching can be removed. If you are making the mask for the first time, you don’t have to stitch that line.